Saturday, August 20, 2011

Chocolate Filled Raspberries

THIS:


+ PLUS THIS:


= EQUALS THIS:


!!!!!!!

WOW! Yummy Treat!


{{Chocolate Filled Raspberries}}

(printer friendly version)

Fresh Raspberries
Chocolate Chips, milk chocolate, semi-sweet or white chocolate (depending on your preference)

Wash Raspberries thoroughly and let them dry completely.

Take the chocolate chips and gently press one into the center of each raspberry, pointy end down into the opening of the raspberry. (Depending on the size of the berry will decide the size of chocolate chips... a bigger berry works well with the larger chips, such as the Guittard chips. Smaller berries work well with a smaller chocolate chip.)

Store in the refrigerator until ready to serve. Best if served within a few hours of preparation, but up to one day, depending on the freshness of the berries.

Friday, August 19, 2011

Buttermilk Syrup


Buttery Buttermilk Syrup.... this is so naughty and so yummy! I love it on french toast, or pancakes, or ableskeivers, or anything breakfasty! We received a mason jar full of this yummy syrup for Christmas, complete with a recipe and it has become one of my favorites. I don't make it all the time, because I love it tooooo much!

{{Buttermilk Syrup}}

(printer friendly version)

2 cubes butter (original recipe called for margarine, but butter is better!)
2 cups white sugar
1 can evaporated milk

Boil these three ingredients for 5 minutes in a deep sauce pan.

Add:
2 teaspoons vanilla
1/2 teaspoon baking soda (this will cause the mixture to foam)

Serve on pancakes, french toast, waffles, etc. Anything breakfasty!


Greek Yogurt & Nutella Fruit Dip

Simple, lowfat fruit dip. Healthy and yummy. Goes well with lots of fruits.


{{Nutella Fruit Dip}}


(printer friendly version)


1 cup non-fat greek yogurt
1/2 cup nutella

Stir together the yogurt and Nutella. Serve with fresh fruit such as strawberries, bananas, apples, grapes, raspberries, pineapples, etc.


Done. Delicious. Dip. Who doesn't love dipping right?

Thursday, August 18, 2011

Oreo Truffles

Yummy sweet chocolates that make a great gift, holiday treat, or just a sweet indulgence.

Start with a 16.6 ounce package of regular Oreos, (not double stuf). I like to open up about 10 cookies and take the one side without cream and put them into a ziplock bag. Then using a rolling pin or can of food, crush the cookies into a fine crumb powder. Set the bag of crumbs aside.

Put the rest of the cookies, including the cream, into a food processor and pulse until the cookies turn into a fine crumb.
When the cookies are crushed, dump the crumbs into a bowl with the softened 8 ounce package of cream cheese. Using the back of a spoon, mix the cookie crumbs & cream cheese into a soft dough. The dough will look wet, but you should be able to shape it.
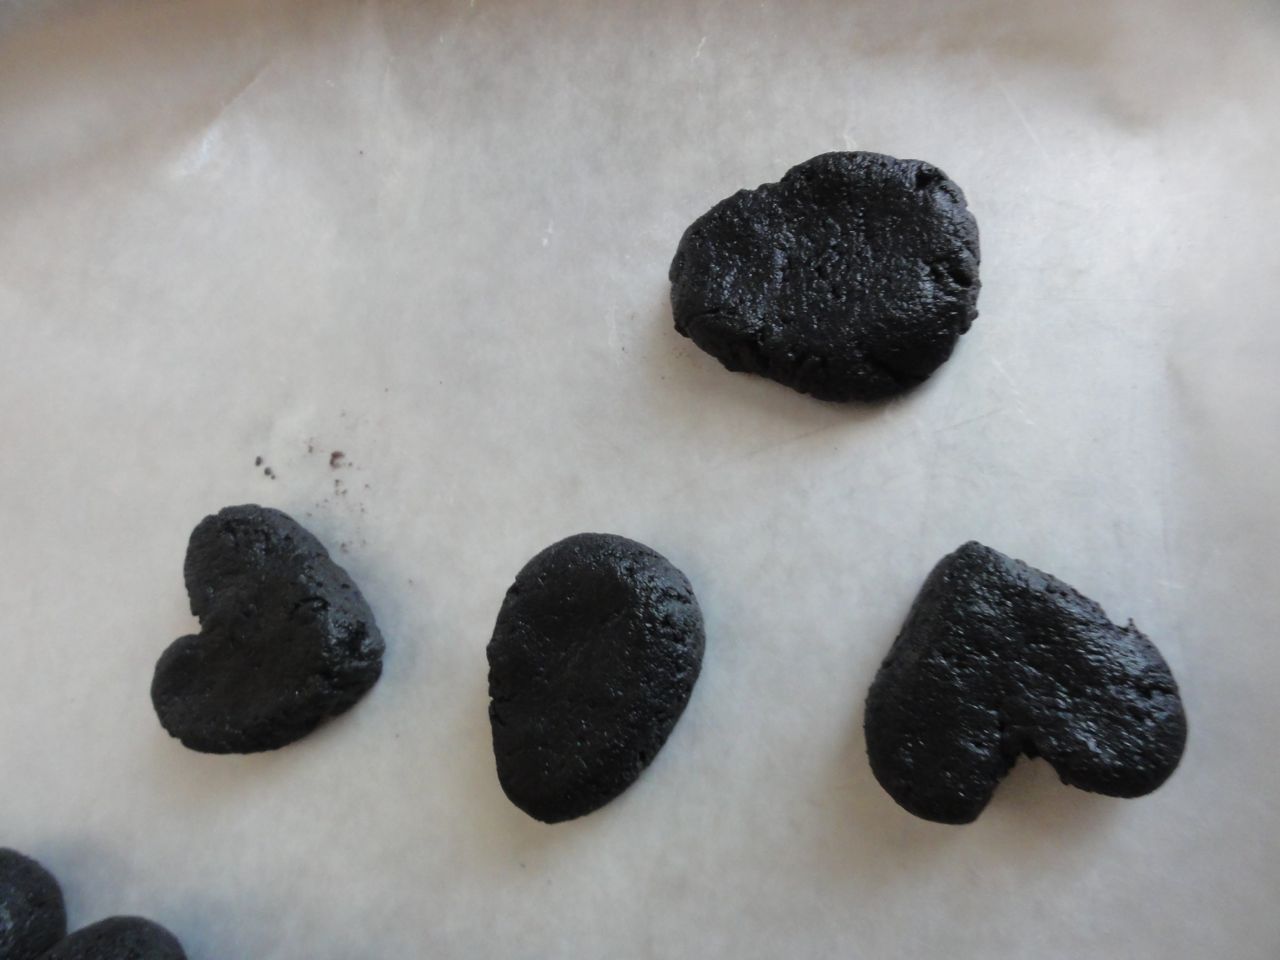
Cover a baking sheet with parchment paper or waxed paper. Take about a tablespoon of dough and roll it a ball....
...or an egg, or a heart, or a square, or whatever shape might fit the holiday or reason that you are celebrating. Refrigerate the balls for at least an hour. The truffles will have a nicer coat of chocolate if the dough is cold and hardened.
Melt some chocolate (tips for melting chocolate below)... either white or milk or semi-sweet chocolate. Place a chilled ball of dough into the chocolate and using two forks cover the ball with chocolate. Once the ball is coated, pull it out with the forks and let the excess chocolate drip off the fork. Drop the covered truffle back down onto the waxed or parchment paper. Then you can embellish them in a few different ways.
  • Take the first set of cookie crumbs that are in the ziploc bag and sprinkle a few crumbs on the wet chocolate.
  • Drizzle an opposing color of chocolate onto the truffle: white on brown or brown on white.
  • Leave the truffle plain, and drop some extra chocolate on top. While the chocolate is still wet, use the fork and swirl the chocolate on top as a design.
  • Or just leave them plain.
Let the chocolate harden either by letting them sit out at room temperature or stick them into the refrigerator.
Once they have set, you can serve them up on a plate, or package them up in a bag embellished with a ribbon.
{{Oreo Truffles}}

(printer friendly version)

1 pkg.
(8 oz.) Cream Cheese, softened
1 pkg. (16.6 oz.) OREO Cookies, finely crushed
2 pkg. (8 squares each) Semi-Sweet Chocolate, melted

MIX cream cheese and cookie crumbs (about 4 cups) until well blended.
SHAPE into 48 (1-inch) balls. Dip in melted chocolate; place on waxed paper-covered baking sheet. Sprinkle with remaining cookie crumbs.
REFRIGERATE 1 hour or until firm. Store in tightly covered container in refrigerator.
How to Melt Chocolate:
Place unwrapped chocolate squares in microwaveable bowl. Microwave on HIGH 2-1/2 min. or until chocolate is completely melted, stirring every 30 sec.

How to Easily Dip Truffles:
To easily coat truffles with the melted chocolate, add truffles, in batches, to bowl of melted chocolate. Use 2 forks to roll truffles in chocolate until evenly coated. Remove truffles with forks, letting excess chocolate drip back into bowl. Place truffles on prepared baking sheet; let stand until firm.

How to Store:
Store in tightly covered container in refrigerator.

Wednesday, August 17, 2011

Taco Tuesday

For dinner last night we had Tacos.

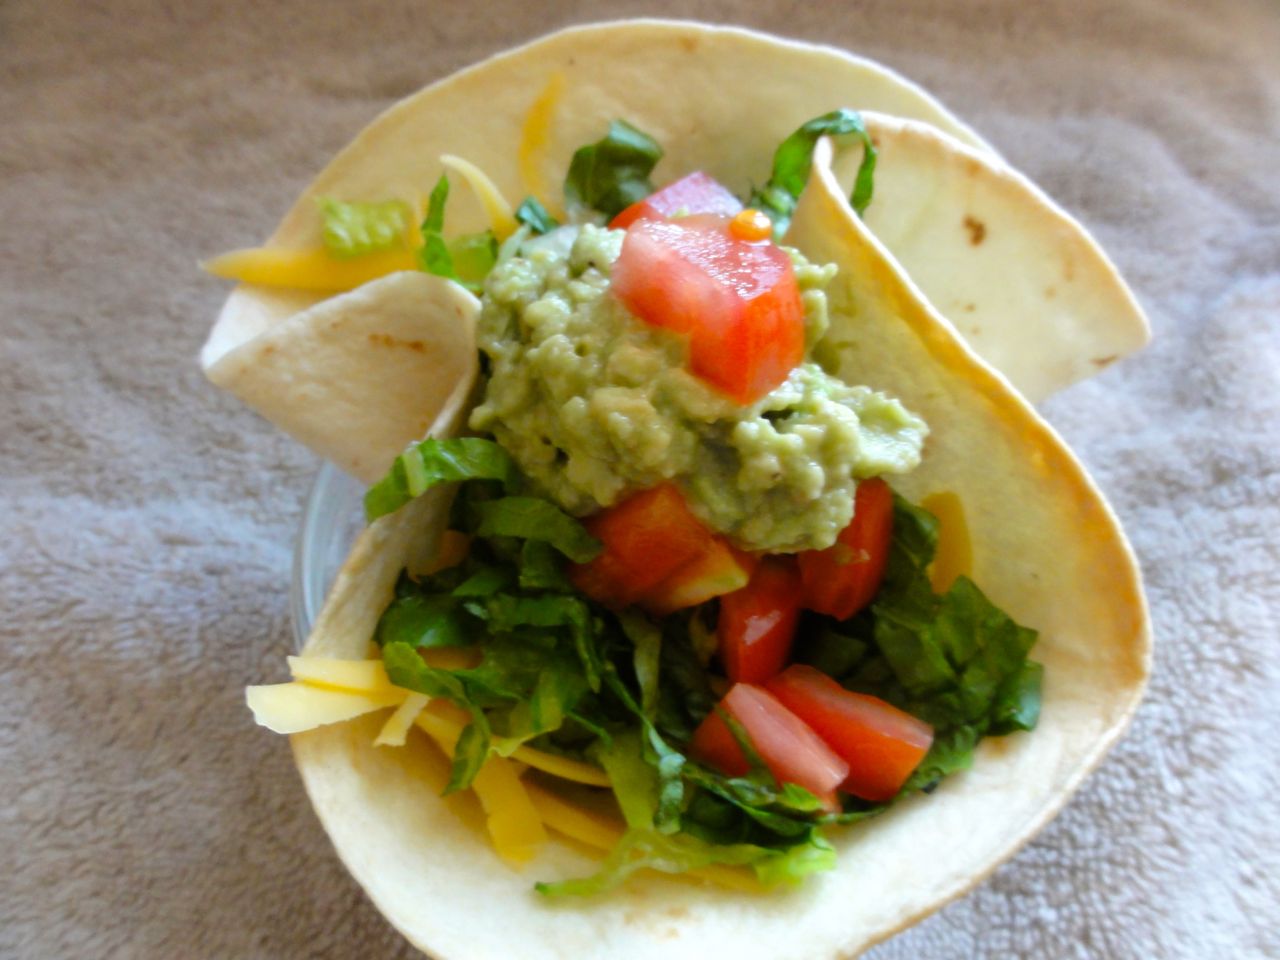
But instead of just regular tacos, we made these taco bowls. I found this on Kraft and modified their recipe a bit.

{{Taco Tuesday Bowls}}

(printer friendly version)

8 flour tortillas (6 inch)
1 lb. extra lean ground beef (or turkey)
packet of taco seasoning
1/2 cup shredded cheddar cheese
2 cups chopped lettuce
1 tomato, chopped
1/4 cup ranch dressing
Salsa
Guacamole

Preheat the oven to 350 degrees.

Microwave the tortillas on high for about 30 seconds to soften and make them easier to mold. Line each muffin cup with one tortilla. Carefully fold back the edges of tortilla, creating a pocket for filling up with taco goodness.

Bake tortillas in oven for about 10 minutes. While tortillas are cooking, brown the meat in a skillet and add taco seasoning (per package directions). Bring to a boil and then reduce heat to low, simmer meat for about 5-10 minutes.

Pull out tortillas and spoon some meat mixture into the bottom. And then from here you add your toppings like you would for a taco... following your own preferences.


Here are a few of my funny looking taco shells... but the kids still had fun eating them.... taco night in a different way.


Monday, August 15, 2011

Creamy Fettucine Alfredo Sauce


This is a yummy and quick alfredo sauce that doesn't get stringy or funny or greasy. It stays smooth and creamy, even if you eat it as leftovers the next day.


{{Fettuccine Alfredo Sauce}}

(printer friendly version)

8 ounce cream cheese
1/2 cup butter
3/4 cup Parmesan Cheese
3/4 cup milk

Melt cream cheese and butter in a saucepan over low to medium heat. Stir in Parmesan cheese and milk. Using a wire-wisk, stir over low heat until thickened. Serve over fettuccine noodles with sautéed chicken or shrimp. Garnish with fresh parsley.

I put the sauce over egg noodles instead of fettuccine noodles and then sautéed some chicken breasts in olive oil, garlic, salt and pepper. Ta Dah! Dinner is done in about 15 minutes. Serve with some salad.... DONE!

Thursday, August 11, 2011

Brownie Shish Kabobs

We made these yummy kabobs and the kids went gaga for them! A little bit of brownie and lots of fruit drizzled with chocolate. Perfect!
Here they are drizzled with chocolate. Mmmmmm...
{{Brownie 'n Fruit Shish Kabobs}}

(printer friendly version)

1 box fudge brownie mix (including the water, vegetable oil and eggs as called for on the brownie mix)
4 cups fresh pineapple, chunks
5 cups halved fresh strawberries
10 large bananas, cut into 1 inch pieces (Brushed with lemon juice to prevent browning)
1/2 cup semisweet chocolate chips
1/4 cup butter
21 (10 inch) bamboo skewers

Heat oven to 350 degrees (325 for dark or nonstick pans). Line 9x13 pan with foil or parchment paper and let it hang 2 inches over the side of the pan. Spray or grease only the bottom of the lined pan.

Make brownies as directed on box. {You can also make your favorite brownie recipe from scratch... if I'm using a box, I prefer the Betty Crocker Fudge Brownies and I have noticed since we live at a higher altitude it works best if I add 2 tablespoons of flour to the mix before adding the remaining ingredients.} Spread brownie batter in prepared pan.

Bake brownies for 26-30 minutes or until toothpick inserted 2 inches from the side comes out almost clean. Cool brownies completely.

While brownies are cooling, start cutting up all the fruit and brush the cut up bananas with a diluted lemon juice water {I did 1 tablespoon of lemon juice and a 1/2 cup water and brushed it onto the bananas with a pastry brush}.

Lift brownie from pan and remove parchment paper/foil. Cut brownies into 1 1/4 inch squares.

Line cookie sheets with waxed paper. Alternately thread 3 brownie squares, 2 pineapple chunks, 2 strawberry halves, and 2 banana slices on each skewer. Place kabobs on waxed paper.

In a small microwaveable bowl, microwave chocolate chips and butter uncovered on high for 1-2 minutes, stirring once the chocolate is melted. Drizzle over kabobs.

***We made some without pineapple, some without banana, but all of them had strawberries. We wanted to satisfy the desires of all those that would be eating these. I actually cut the brownies a bit smaller and added more fruit when possible.

I had to include the kids... They were too busy eating to even smile! This was serious business. They were going GAGA!!!


LinkWithin

Related Posts Plugin for WordPress, Blogger...