Showing posts with label Headbands. Show all posts

Saturday, September 17, 2011

Hair Bow Holder

Hair bows for girls... Where do they all come from? How do you collect so many? They seem to multiply and then you can't find the one that you want. At least this was my problem. They were getting cluttered up in the drawers in the bathroom.... I'd seen many different bow hanging ideas on other websites, and at a variety of stores. After much deliberation...I chose to make one large frame to hang on the kids bathroom wall.
I took a framed metal board (made by my brother) and we took out the glass and replaced it with plexiglass to make it lighter. The frame measures 41 inches by 21 inches. Inside measurements of the board are 35.5 inches by 15.5 inches. Then I used two different types of ribbons, one that is green with white polka dots and another one that is an orange ric rac. I have 16 strips of each ribbon and they are each about 18 inches long. For a total of about 8 yards. There are a total of 38 stripes of ribbon, which makes for a grand total of 16 yards of ribbon. Starting with the orange ric rac and then alternating the ribbons, I wrapped them vertically around the glass/plexiglass and the metal and secured them to the back with packing tape. Finally when all of the ribbons were taped into place, I put the ribbon wrapped metal & plexiglass into the frame and secured it.
Then you can start putting all of the clip flowers directly onto the ribbons that are on the board. It helps to hold all the flowers in an organized way and it keeps them from getting lost or crumpled up in a drawer.
My daughter wrapped some headbands around the ribbons as well and that seemed to work for some of the fabric ones.

Ta dah! Done. I put it up high so that the baby can't get into them, but my 9 year old daughter can reach them so she can use them as she desires.

I feel like we use our flowers more and a better variety of them since we can see them all at once.

Friday, September 2, 2011

Felt Flowers For Headbands or Clips

These felt flowers are easy to make and quick. You can make them with as many petals as you want and you can vary the size of the flower based on the size of the petal. Obviously you can make them any color too.

Starting with at least 5 petals, cut them out of your color choice of felt. Using a piece of coordinating thread and a needle, thread them all together. Down on the first side and then up at the bottom of the petal, then down and up, etc. When all the petals are on the thread, you are ready to move to the next step.
Pull on the thread until the petal pull together and form a flower. Thread the needle back into the first petal so that it completes the circle.

Then complete the flower by tying a square knot in the thread and snipping it off. You can use a dab of hot glue to ensure that the thread doesn't come undone.
Next you can add a small rectangle of felt on the back so that it can be added to the headband temporarily. Click on the image to enlarge so that you can clearly see where the rectangle of felt is. Use hot glue on the edges of the rectangle and attach it to the flower.

Attach a jewel in the middle of the front of the flower to finish it off. Voila... Done! Ready to wear.Slip the rectangle onto a headband and place it where you want it. You can have it on top or on the side. This keeps your options open. Plus when you are done wearing the flower, you can remove it from the headband and it won't get squished. You can also put this flower on a clip.

Here it is on the my two daughters. Cute. Simple.

Thursday, August 25, 2011

Peacock Feather Headband

Peacock feathers, or any feathers really... they are so chic and so popular right now! I wanted to make a headband for my darling daughter to wear (and it might find its way to my head one of these days...)

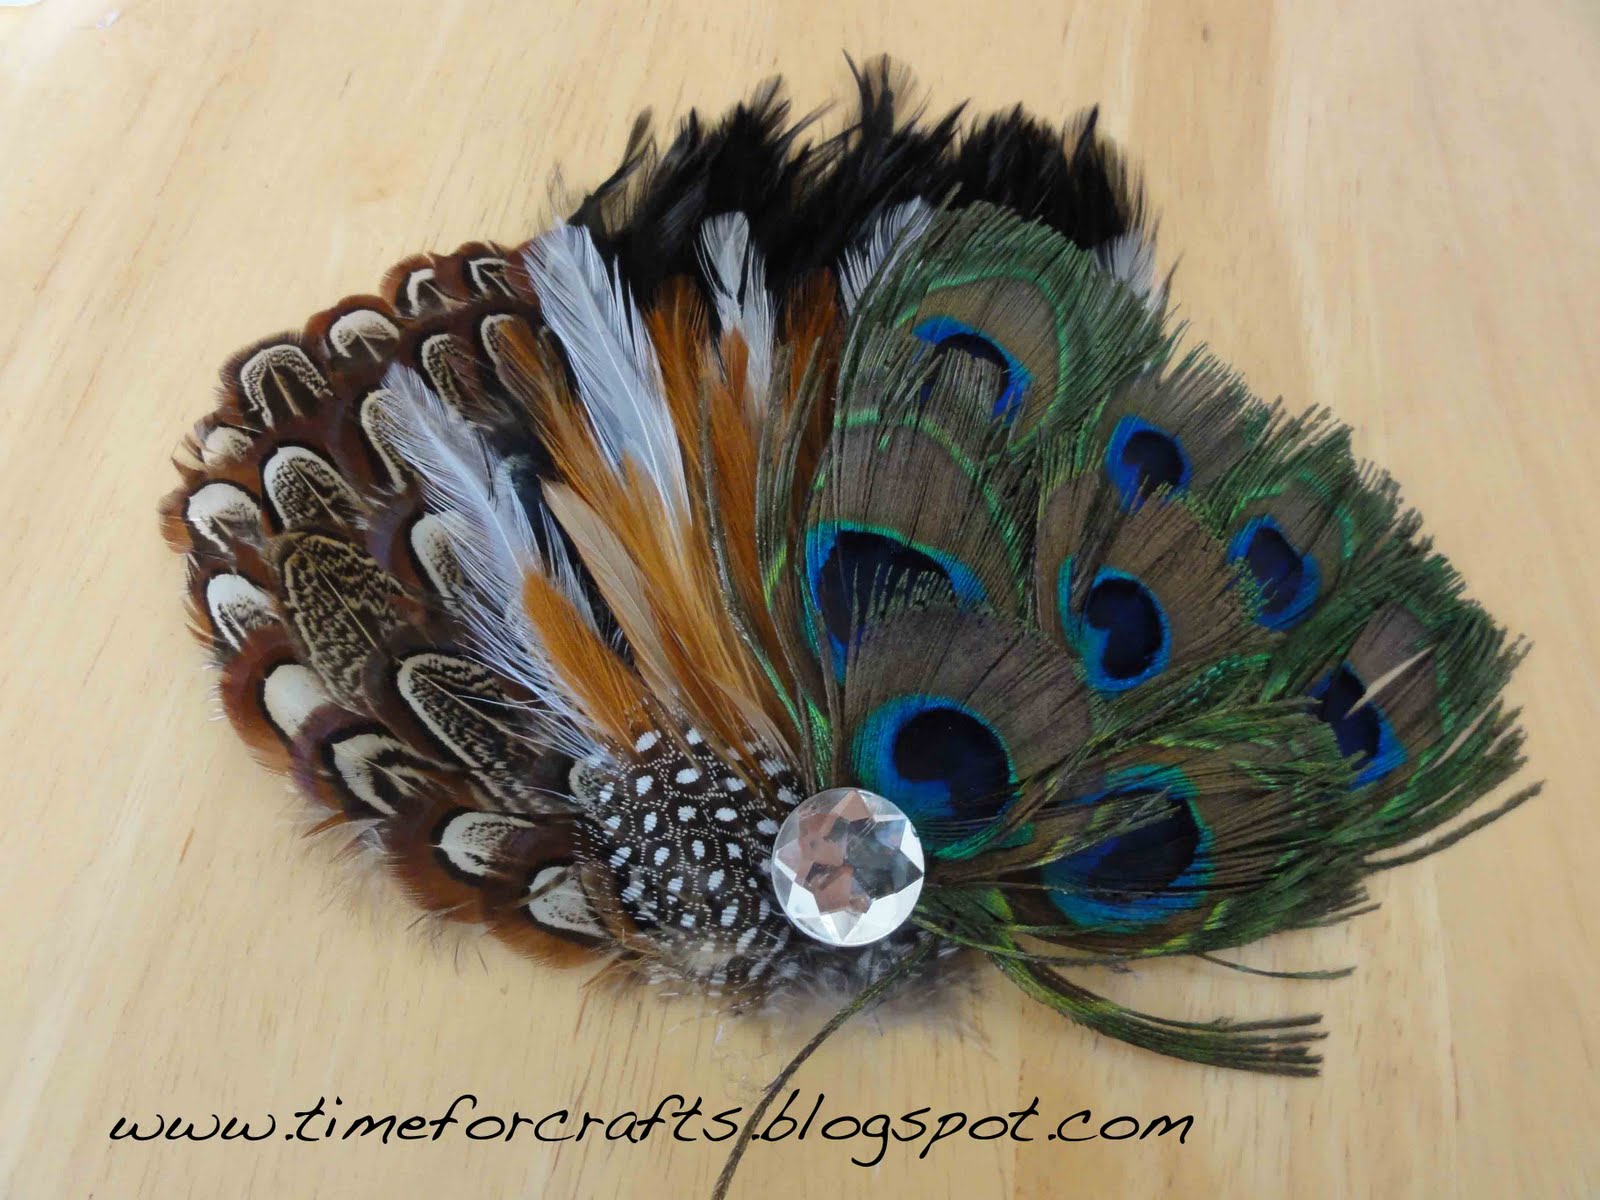
I went to the store and picked up this already assembled peacock feather pad at JoAnn's for around $4, and a black satin head band there as well for $2. I already had the black felt and I cut out two rectangles. Finally, I got a diamond as the accent for the headband... It took about 3 minutes to make this headband. The longest part was waiting for the hot glue gun to heat up!
The peacock feathers were already put together and attached to the felt pad. So all I had to do was attach it to the headband. You could use fabric glue and attach it directly to the headband. However, I didn't want to glue it directly onto the headband for two reasons...
  1. Since the feathers are so big, they will inevitably get smashed when the headband is placed on its side for storage, so I wanted to have the feathers removable... the feathers can be stored flat. Perfect!
  2. Plus, if the feathers are removable then the feathers can be attached to multiple headbands in a variety of colors and you don't need to have as many headbands in the same color. Love it!

Using the hot glue gun, I attached the two rectangle pieces of black felt. One at the bottom and one at the top of the pad. When I only had one rectangle piece of felt, it caused the feathers to poke up in a funny way on top of my daughters head so I attached a second one.
Here you can see both pieces of felt attached to the feathers.

I only put glue on the ends of the felt to create a pocket where the headband could pass through and be held onto the headband, but easily be slid off when you were done with it.
Here it is on the front side. I added a diamond at the bottom as an accent.
Here are some other feather pads that I picked up at JoAnn's. These were each around $3. Now she will have 3 fashionable headbands for only around $15. Nice!
Would also make a great gift for only $5-$6.


See how nicely they all stack on top of each other, which helps keep them straight and organized.

LinkWithin

Related Posts Plugin for WordPress, Blogger...