The behavior portion started with a short role playing where all the teachers were given a new name and a personality that they had to play out while we were trying to teach our lesson. We had 2 BFF's girls that were sitting in the back talking incessantly. We had the "Good Girl" that wanted to answer all the questions. We had a boy that liked another girl and kept poking her because he didn't know how else to show it. The girl was extremely shy and felt very uncomfortable from his advances. There was a boy with ADHD. There was a boy that was always trying to misbehave so he would get kicked out. It was a great way to start the class and to get the teachers talking and involved.
To transition from one topic to the next we showed this video.... Click here.
The second half of the class consisted of talking about spiritual preparation and making sure we love the kids we are teaching. Most of the information related to that part of the class came from the book "Teaching, No Greater Call." GREAT BOOK.
Made a bookmark with references to things that we talking about so they could refer themselves to the book as needed. There is a front and a back. I cut them about 2 1/2 inches wide by 8 inches long. I glued the paper onto colored cardstock & then laminated them. After they were laminated... I added a hole punch at the top, and a ribbon.

The front of the bookmark has a quote from President James E. Faust.
"The Lord has a great work for each of us to do. You may wonder how this can be. You may feel that there is nothing special or superior about you or our ability.... The Lord can do remarkable miracles with a person of ordinary ability who is humble, faithful, and diligent in serving hte Lord and seeks to improve themselves. This is because God is the ultimate source of power."


Here is the printable portion of the bookmark if you wanted to download it and make your own.

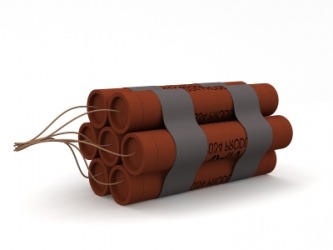
And no church lesson is complete without a treat to go with it.... We think our teachers are DYNAMITE! We told them this... by giving them this little treat.

Click here for the tags to download and print.
This would be a great and simple gift to give to a school teacher as well. I was thinking about making a bunch of wrapped Rolos and putting them all together to make the gift a little more grandeur. Something like this.....


